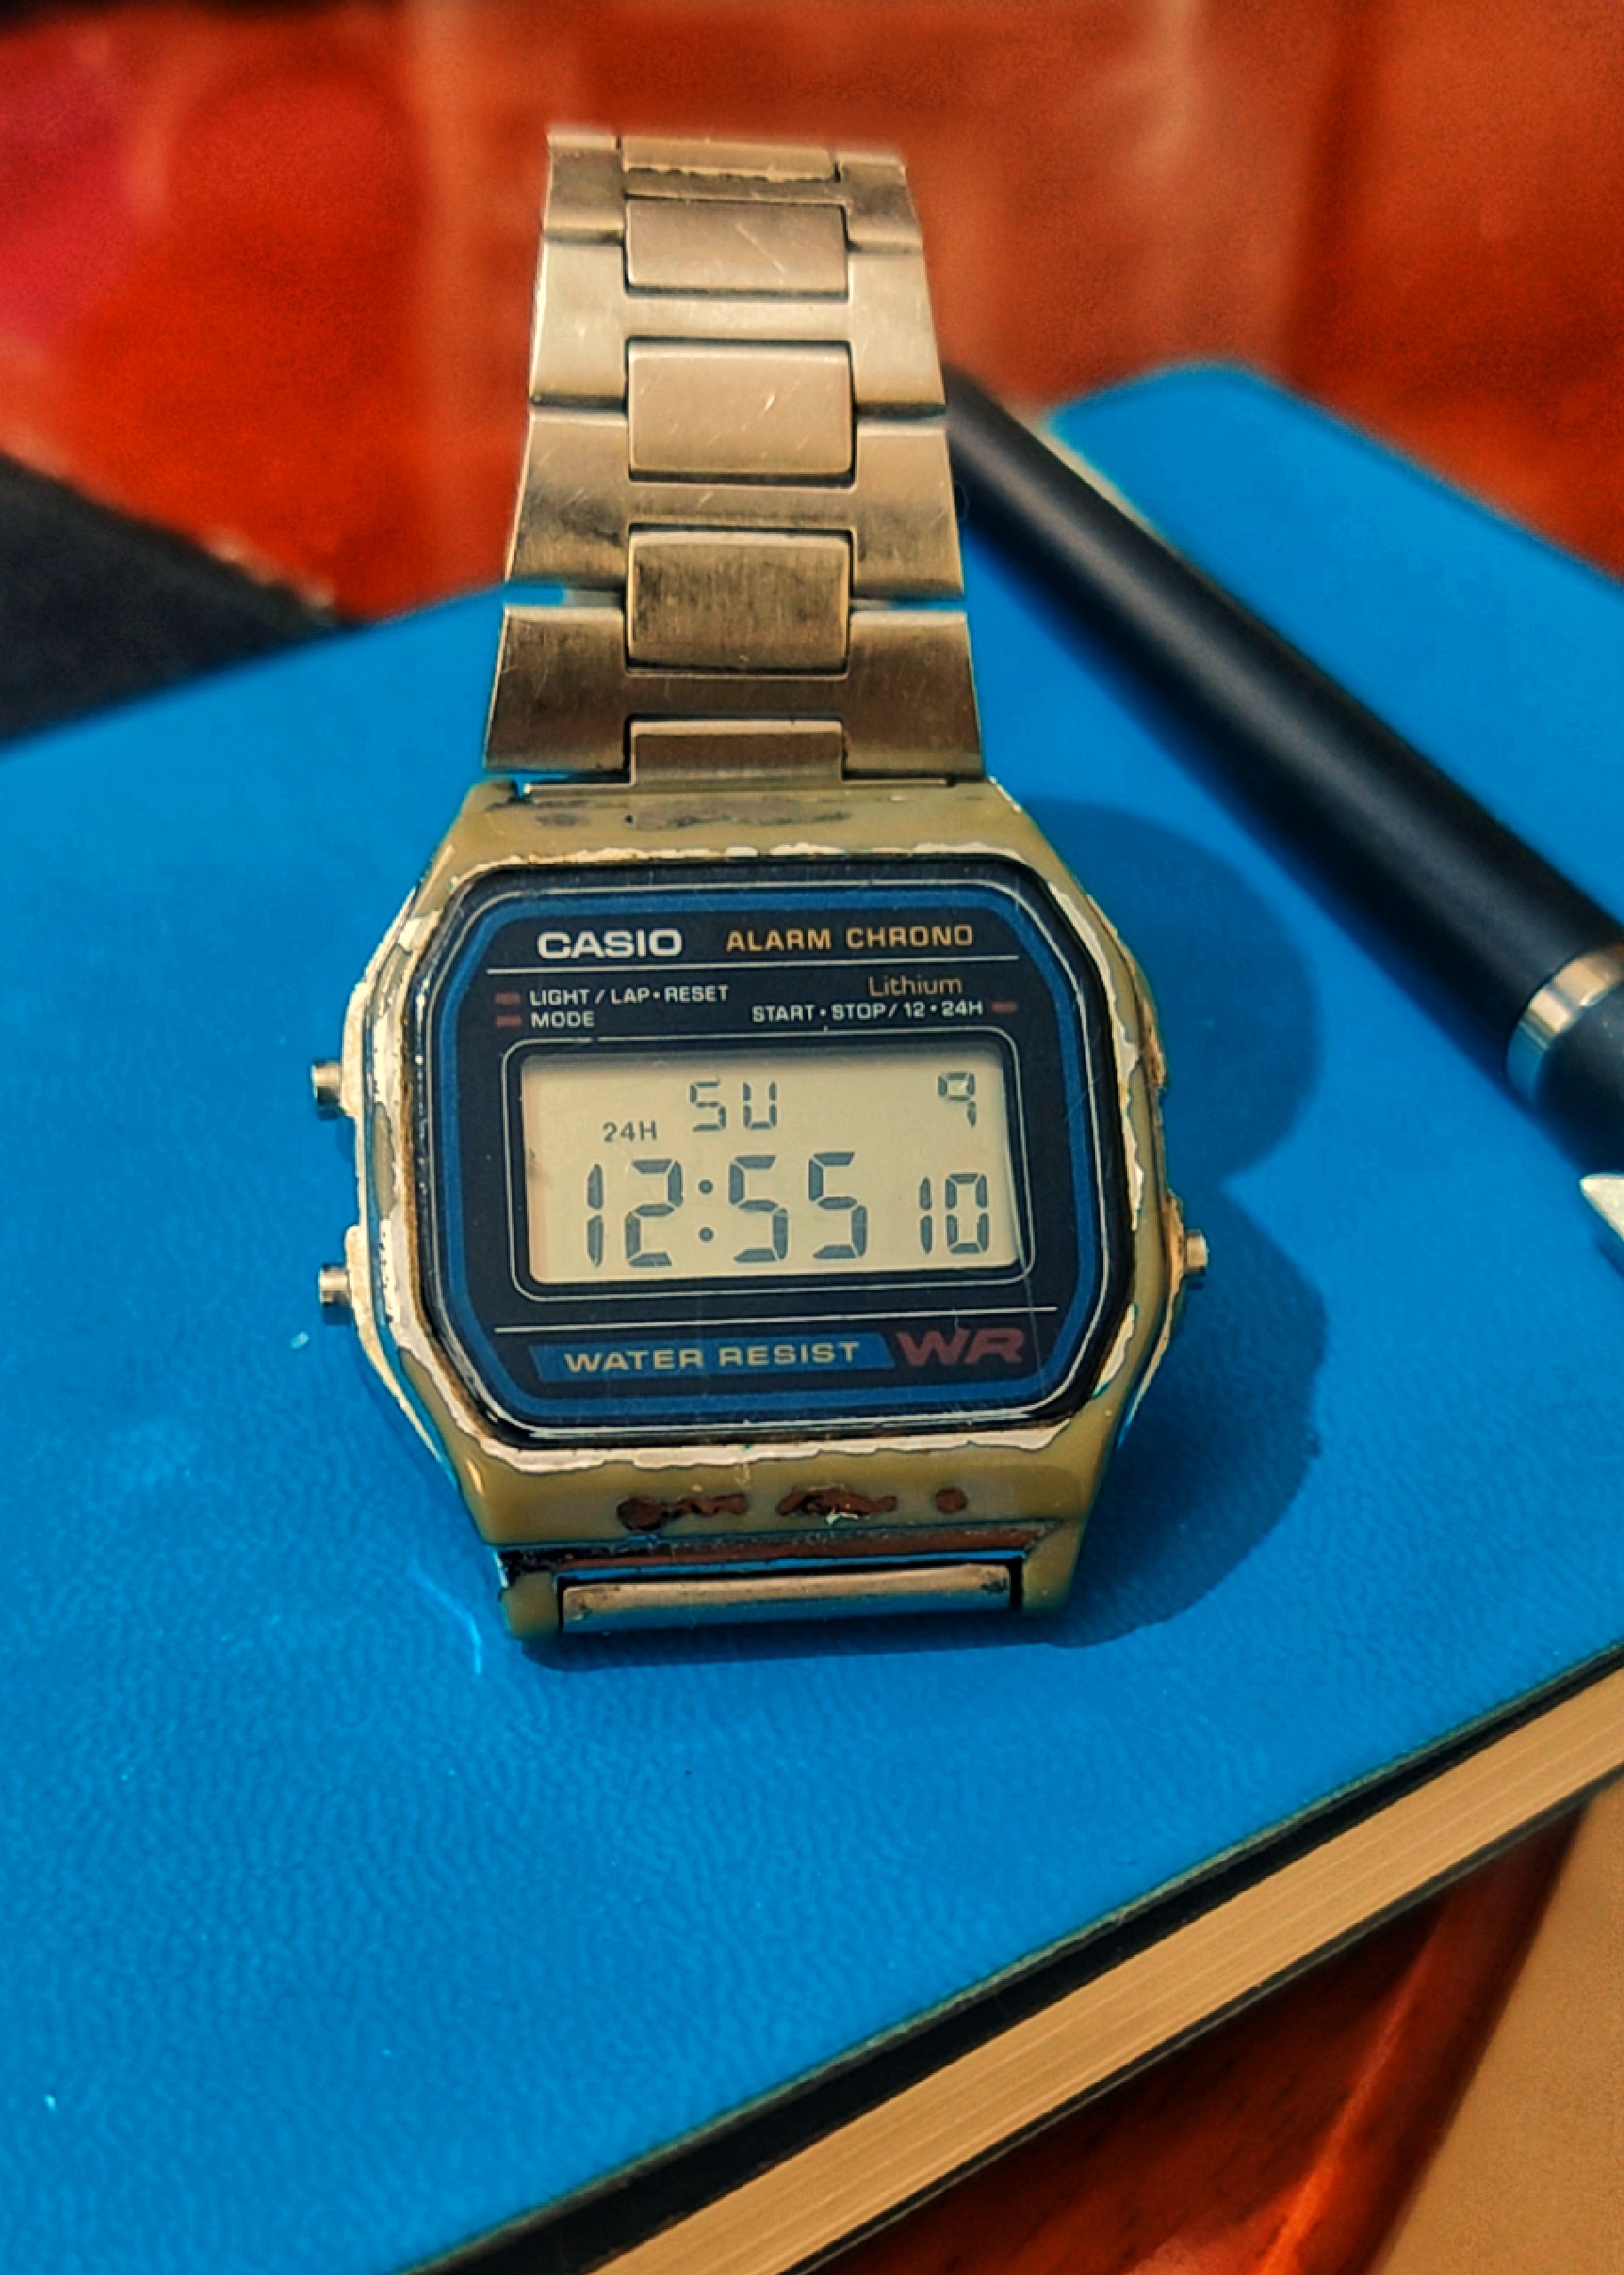
So, I own a CASIO A158W which was my timekeeper and wrist ornament for almost all of my under-grad and grad life. Even with rough use (amounting to gadget abuse), this workhorse timekeeper of mine never seemed to fail.
But then few years after my graduation, one fine day the watch failed to display time.. And I instantly knew I had to replace it’s battery. But by this point of time, I had got myself a job. Enjoying privileges of the new found money & financial independence, I bought myself a new watch instead of repairing the Casio.
And so the Casio remained, untouched by time (quite ironic!) and powerless in the depths of my wardrobe.
Few years later….
….came the year “2020”.
With global pandemic and novel coronavirus effectively locking everyone into the confines of their residence, working from home and even during weekends seemed to be the new normal.
The daily grunt of worklife made me weary & wanting to do some “meditative tweaking and repairing” (yes it soothes my mind – don’t judge!) and I started searching for things to repair within the house. Electronic items especially. Very soon – the search reached the Wardrobe and lo and behold I found the good ol’ Casio. 🙂 I decided to repair it and add the new battery myself.
I search for the battery type Casio A158W uses and understood that its CR2016 ( 3V, Lithium flat button battery) – CMOS battery that any DIY fan / PC Assembler will be all too familiar with. I bought them from Amazon and got the batteries delivered soon enough.
I took out my precision tool-set and started unscrewing the back cover of the Casio. The internals were pretty minimalist – true to its Japanese origins. There is a clip on holding the battery which needs to be removed to replace the battery. All in all – very simple process – and I got the battery new battery replaced within no time.
But now, time for the surprise – The display of the watch wouldn’t come up. It just wouldn’t.
I checked if the new battery had power by testing if the illumination led on the watch would glow – and it did. For sometime, I just reiterated the entire battery replacement process again and again…to no joy. The display wasn’t appearing. I thought I broke something… and I started googling around. Had 2020 affected my gadget repairing abilities too? Confusion and doubt crept in…
Thankfully, my google searches yielded results. To my surprise (read – “ignorance” that the display was somehow connected to the CMOS of the watch) – I found out that I had to clear/reset the CMOS of this watch as well. And that needs to be done during battery replacement.
There is a small indication on the plastic mold of the watchs’ internals – which says “AC”, I had to connect this point to the negative of the battery terminal in order to reset the CMOS. Using this new found knowledge I immediately jumped into action – and as soon as I did the CMOS reset the display came back!

And this beauty is back in business!
Ah, the simple pleasures of getting things to work again! 🙂 Nothing in this world can replace that feeling.
Since I didn’t video graph the entire process – here is a reference video I found in YouTube which shows the battery replacement and CMOS reset. Hope it helps someone out there!